It's a very good question. If you use either Flickr or Blogger's automatic tools, they do the wrapping for you. But if you insert images the way I recommend, in order to link to your Flickr site from your blog, then you'll have to wrap text around them (or center them) on your own.
Fortunately, it's not difficult. Start with part 3 of my tutorial on Blogging Flickr images manually.
In this example, we'll use a photo that is narrower than it is tall. We choose the Medium size on Flickr (289 x 500 pixels) and copy the automatically generated code for the image from box number 1.
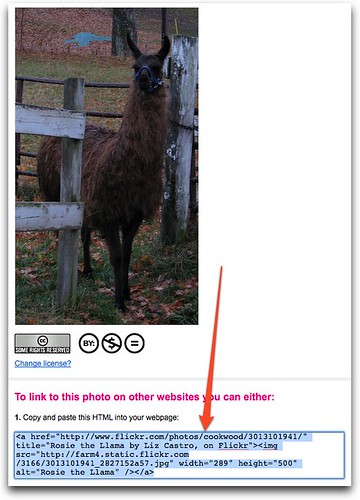
Next, paste the code into your blog post:

Adjust the width (and remove the height) if necessary, as described in part 3. In this example, so we can really see the text wrap, I've reduced the width to 200 pixels and removed the height.
Next, after the width, add the following:
style="float:left; margin:0 10px 10px 0"Don't forget the quotation marks at the beginning and at the end!
It should look like this:

 Now when you view the photo, the text that follows the image, and indeed anything else that follows the image, will wrap around to the right. Don't put anything but a space between the chunk of code and the following paragraph so that your text is aligned to the top of the image.
 You can have the text wrap to the left of the image by using
float:right. Remember the image floats to the side you tell it and the text goes around the other side. You can adjust the space around the image by adjusting the values next to
margin. The numbers refer to the number of pixels of space to the top, right, bottom, and left, in that order. (Start at the top and go clockwise.) So, if you float your image to the right (and the text goes to the left, you should use something like: margin: 0 0 10px 10px. Be sure to always specify px unless the number is 0.These bits of code are CSS and are explained in detail in my book, HTML, XHTML, and CSS, Visual QuickStart Guide, Sixth Edition, published by Peachpit Press.
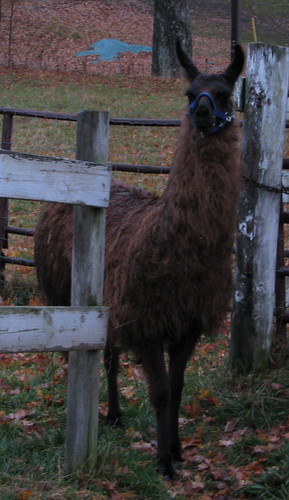
P.S. That's my llama! Her name is Rosie.
P.P.S. You can find the first three parts of this series on Blogging Flickr photos here, here, and here.

No comments:
Post a Comment